Wall and ceiling repair on Maui
Drywall Repair in Wailuku, HI
Water-stained ceilings, soft spots from slow leaks, holes left behind by a remodel and dents from ordinary life, rebuilt in proper layers and textured to match so the repair disappears under paint.
Once we hear what the wall is doing, a Wailuku-area drywall pro follows up to see it and price the repair before anything gets cut.
Call 7 days, 7am–9pm
Openings from other trades: closing them so they vanish
Most walls in a remodel get opened by somebody who is not a drywall finisher. An electrician fishing a new circuit leaves a row of square holes; a plumber cuts an access hatch to reach a shower valve; an HVAC installer saws a chase for a refrigerant line; a low-voltage installer drills for speaker wire and a TV mount. Each of them is done with their own work when they pack up. The wall is not.
Closing those openings properly starts behind the surface. A cut-out wider than a few inches needs something to fasten into, so the repair adds backing: wood cleats run across the opening, or new blocking where framing was notched. The replacement piece of gypsum is cut with a small gap all round, screwed off, and every joint is taped. Paper tape set into a bed of compound is the usual choice for flat seams because it does not stretch; fiberglass mesh works on small patches when it is buried under a powder-mixed setting compound, the kind that cures chemically instead of air-drying.
Then comes blending, which is where most quick patches give themselves away. Compound shrinks as its water evaporates, so each coat is spread wider than the one beneath it until the edge disappears even when a lamp shines across it at a low angle. After that the texture is copied. If several trades opened the same room, every hole is closed in one visit rather than one at a time, so the room only gets painted once.
The details for this kind of job are on the page about patching walls after electricians, plumbers and other trades.
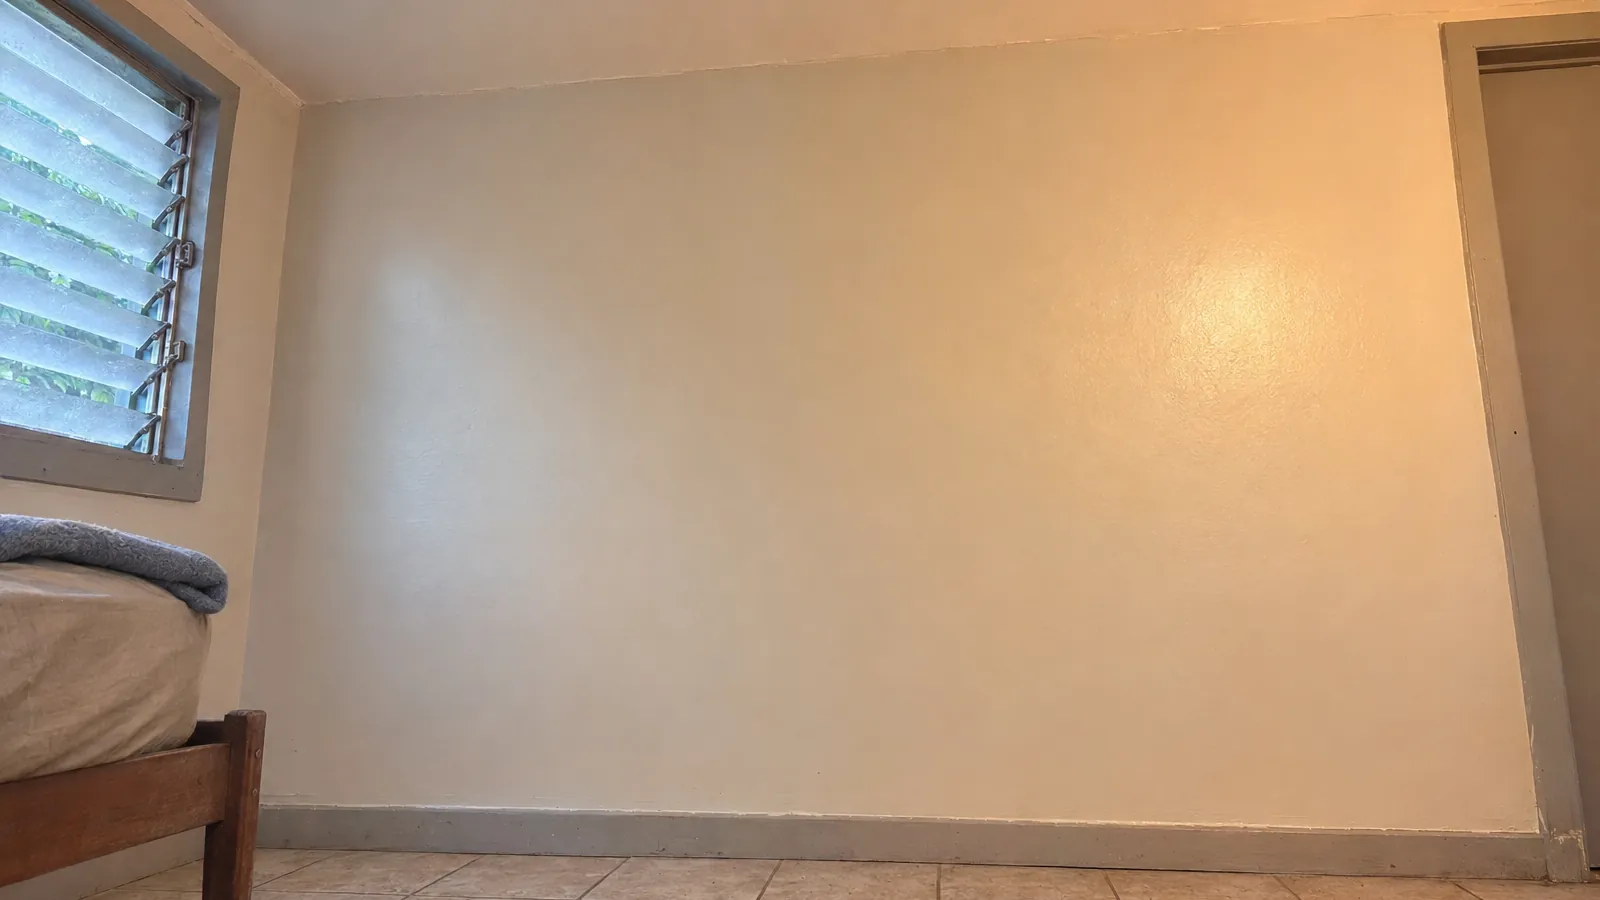
Repair work: the three problems we handle most
Water damage
Stained, soft or crumbling board from roof, plumbing or air-conditioner leaks, cut back to sound gypsum and rebuilt once the cavity is dry.
Read about water-damaged drywall and stained ceilingsRemodel patches
Holes left by electrical, plumbing and HVAC work closed with backing, tape, feathered coats and a texture that matches the room.
Read about patching openings after a remodelHoles and dents
Doorknob punctures, furniture dings, anchor holes and crushed outside corners, each sized up and patched to suit.
Read about drywall hole and dent repair
Weather on this side of Maui: damp air, wet months, dry spells
Air that stays humid
The weather station at Kahului Airport, just east of town, records an average relative humidity of about 73 percent across the year. Gypsum board is a core of calcium sulfate faced with paper, and the paper is what moisture attacks first: it softens, loses its bond with the core and, if it stays damp, feeds mold. In bathrooms without a working fan and closets on outside walls, that shows up as bubbled tape and gray speckling low on the board.
Rain in the cooler months
The Kahului side of the island sits leeward of the trade winds and has a dry summer season, so most of its rain arrives in the cooler part of the year. Roof flashing or a window seal that held all summer can start letting water in once the wet months come, and the first sign indoors is usually a tan ring on a ceiling or a streak running down from a window corner.
Long dry stretches
Through the dry season, wood framing gives up moisture and shrinks slightly. Joints taped over lumber that was not fully dry can open into hairline cracks, and fasteners can stand proud of the surface as the stud draws back from the board. These are cosmetic, but caulk alone will not hold them; the board needs re-fastening and the joint needs fresh tape.
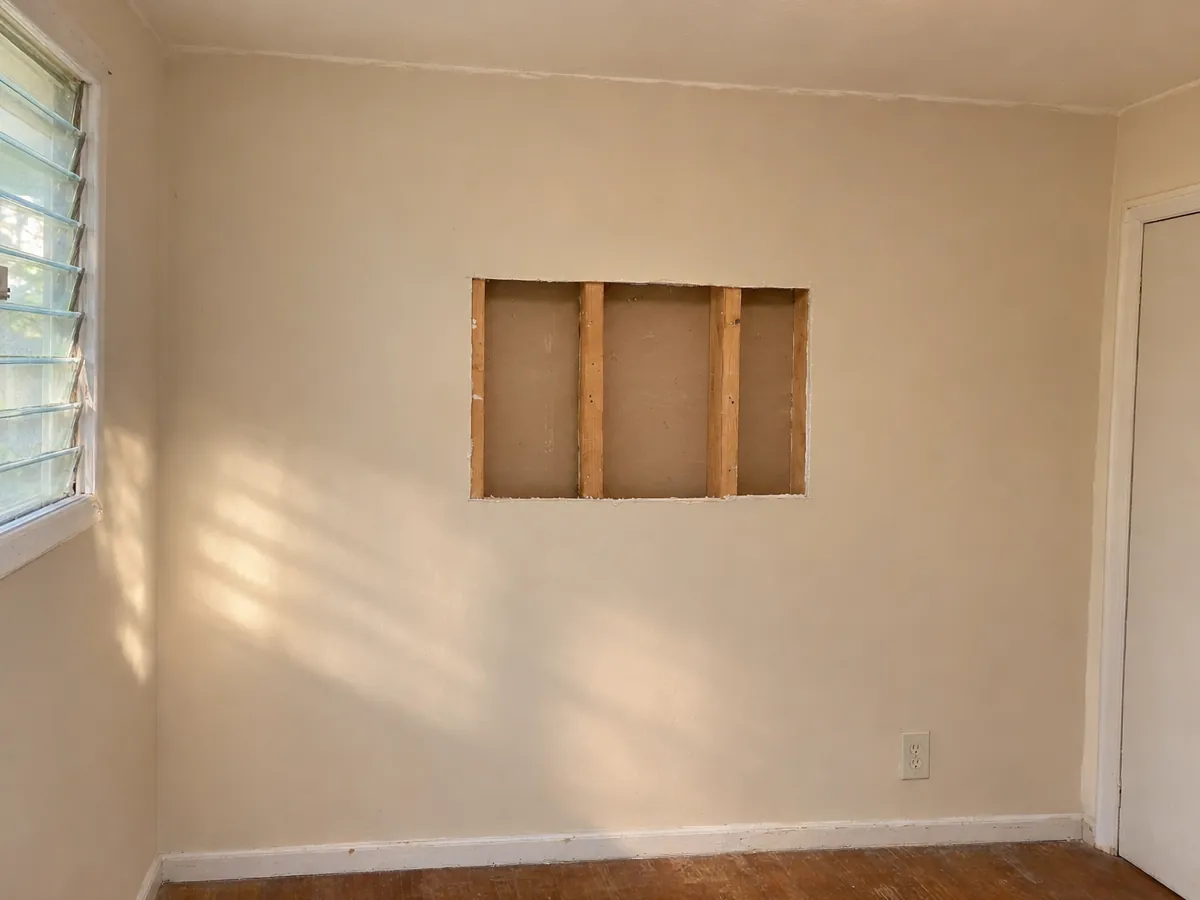
Paper trail: recording damage before anyone fixes it
If water caused the damage, your insurance company, your landlord or your HOA may want to see what it looked like before the repair. That record is easiest to make in the first hour and impossible to make once the wall is patched. We cannot tell you what a policy covers or how a claim will go, but a clear record helps whatever conversation follows.
- Wide shots of each affected room first, so a stranger could tell where the damage sits, then close-ups of every stain, bulge and soft area.
- A tape measure laid against the worst spot in at least one photo, so its size is on record rather than guessed.
- The source, if it is visible: the drip under a sink, the wet ceiling under a bathroom, the condensate line that overflowed.
- The date and time you first noticed it, and what you did next, such as closing a valve or calling a plumber.
- Receipts for any emergency work, fans or dehumidifiers.
Keep the originals and send copies. Those same photos are what we use to size up the repair.
One photo, two scales
A wide shot shows where; a close shot with a ruler beside the damage shows its size. Send both.
Doing it yourself: where a small fix stays small
Some of this is honestly homeowner work. A nail hole, a popped screw or a coin-sized dent needs a little lightweight filler, a narrow flexible blade, a sanding sponge and some primer, plus an afternoon that is mostly drying time. A hole up to fist size can be bridged with a peel-and-stick fiberglass patch and two or three thin coats.
The line moves once any of these show up: the board crumbles or gives when you press it, which means moisture reached the core; the hole is wider than your hand and there is no framing behind it to fasten into; the damage is overhead, where compound slumps and sanding dust falls in your face; or the wall carries a texture you would have to reproduce. Texture is the part people underestimate, because a smooth patch on a textured wall stands out more than the hole did.
We wrote up the tools and the warning signs in more detail in a guide to which drywall patches are worth doing yourself.
Usually fine to try
- Nail and screw holes
- Coin-sized dents
- Hairline cracks that have not returned
- Small anchor holes
Usually worth a pro
- Board that is soft, swollen or stained
- Holes wider than a hand
- Any ceiling repair
- Textured walls and long cracks that reopen
Overhead: stains, sags and the seams between panels
Stains
A ceiling stain shows where water spread, not where it got in, so the leak is traced and stopped first. Once the board is dry and still firm, the stain is sealed using a stain-blocking primer, shellac or oil based, because water-based paint lets the tan color bleed straight back through.
Sagging panels
A dip along a seam usually means the board got wet and lost its strength, or its fasteners let go. Wet gypsum does not spring back once it dries. The sagging section is removed back to the closest joists, new board is screwed up into them, and the seams are taped and textured.
Seam cracks
When a ceiling cracks in a dead-straight line down a joint, the tape has usually come loose from the board. That strip of tape gets sliced away, bedded again and feathered rather than filled, since filler alone opens again as the house moves.
Popcorn texture
Acoustic popcorn is repaired using a spray-on or brushed texture product. Older popcorn can contain asbestos, so get a sample lab-tested before it is disturbed.
For scale, Thumbtack's national cost guide puts typical ceiling drywall repairs at roughly $354 to $1,064. What a given ceiling costs depends on how much board comes down, how high the room is and how much texture has to be reproduced.
Firm or soft?
Press gently beside a ceiling stain. Board that feels as hard as the rest can usually be sealed; board that gives has to be cut out.
Under the paint: why a patch flashes and how that is prevented
Flashing is a repair showing through fresh paint as a dull or glossy patch even though the surface feels flat. The cause is porosity: joint compound drinks in more paint than the board's paper skin or the old paint around it, so the sheen dries unevenly. A coat of primer over the whole repair evens out that absorption. On eggshell or satin walls, the repaired area is then painted edge to edge, out to an inside corner or trim line, instead of dabbed, because new paint has a slightly different sheen from old paint, even out of the same can.
Texture goes on before primer. Orange peel is sprayed or rolled thin; knockdown is spattered and then flattened with a blade once it begins to set; a smooth wall is skim-coated and sanded flat. The match is tried on a scrap of board or inside a closet first. Each repair ends primed, so paint can go straight on, and if you want the painting done as well, mention it when you ask for the quote.
Coverage: the county seat and its neighbors
Wailuku was named Maui's county seat in 1905, with 17,697 residents counted in 2020. The older core, with modest sugar-era bungalows on streets like Vineyard Street, sits at the mouth of Iao Valley; Kehalani, built in the 1990s on former plantation land, spreads out below it.
- Kahului. Directly east, sharing a town line with Wailuku.
- Waikapu. The smaller community directly south of town.
- Waiehu and Waihee. North of town, between the mountains and the shoreline.
- Pukalani and Makawao. Upcountry on the slopes of Haleakala, where the air runs cooler.
- Paia. On the north coast where the Hana Highway begins.
- Kihei. Down on the dry South Side.
Distances and notes for each place are on the page listing every town we cover.
Outside these towns
Put your town or ZIP in the request and coverage gets confirmed when we reply.
Before phoning: five notes that make a quote accurate
- Photograph it twice. Once straight on and once from a step back, with the room lights on.
- Measure the worst part. The widest point of the hole, stain or crack, in inches.
- Stop any water. Close the fixture or valve feeding a leak, and note whether the board still feels damp or soft.
- Look at the surface. Smooth or textured? For texture, take a close photo with light coming from the side so the pattern shows.
- Decide on the finish. Left primed for you to paint, or painted as well, and whether leftover wall paint is on hand.
Texture photo tip
Hold the phone light low and to one side of the wall. The raking light makes orange peel or knockdown easy to identify.
Sequence: how a request becomes a repaired wall
- Describe itYou phone, or snap the damage and text it over. We ask what happened, where it is, how big it is and whether water is still involved.
- See it and price itA drywall pro based nearby visits to look and names a price for the repair, and no wall gets opened without your go-ahead.
- Set a dateThe visit is booked around your week. Furniture gets pulled away or wrapped, and drop cloths protect the floor.
- Rebuild itDamaged board out, backing in, new board, tape, several coats of compound, each allowed to dry, sanding, then texture.
- Ready for paintYou end up with a primed wall, or a painted one if painting was in the agreed price.
Next step: tell us what the wall is doing
Ring us, text over a snapshot, or fill out the request form further up this page. Moisture damage in particular is worth opening up early, because the longer board stays wet the more of it has to come out.
Your description goes to a local pro, who calls to arrange a look at the damage and a price for it before work begins.
Call 7 days, 7am–9pm